Introduction
crock knot are a crucial skill for outdoor enthusiasts, sailors, climbers, and even DIY enthusiasts. One knot that often flies under the radar but is incredibly useful is the crock knot. Whether you’re securing a load, tying a tarp, or working on a creative project, the crock knot has got you covered.
In this guide, we’ll explore what the crock knot is, its uses, and how to tie it step-by-step. We’ll also share tips to ensure you use this knot effectively. By the end, you’ll be confident in adding this knot to your toolbox of essential skills.
What Is a Crock Knot?
The crock knot is a versatile and reliable knot that is easy to learn. It’s known for its strong grip and is often used for securing items tightly. Unlike some other complex knots, the crock knot is simple yet effective for both beginners and experienced users.
Why Learn the Crock Knot?
There are countless reasons to learn this knot. Here are just a few:
- Versatility: It works in a variety of situations, from outdoor activities to home repairs.
- Strength: Once tied, it holds securely under tension.
- Ease of Use: It’s simple to learn and doesn’t require advanced knot-tying skills.
- Reliability: It won’t come undone easily, even under heavy loads.
Step-by-Step Guide to Tying the Crock Knot
Follow these steps to tie a crock knot like a pro:
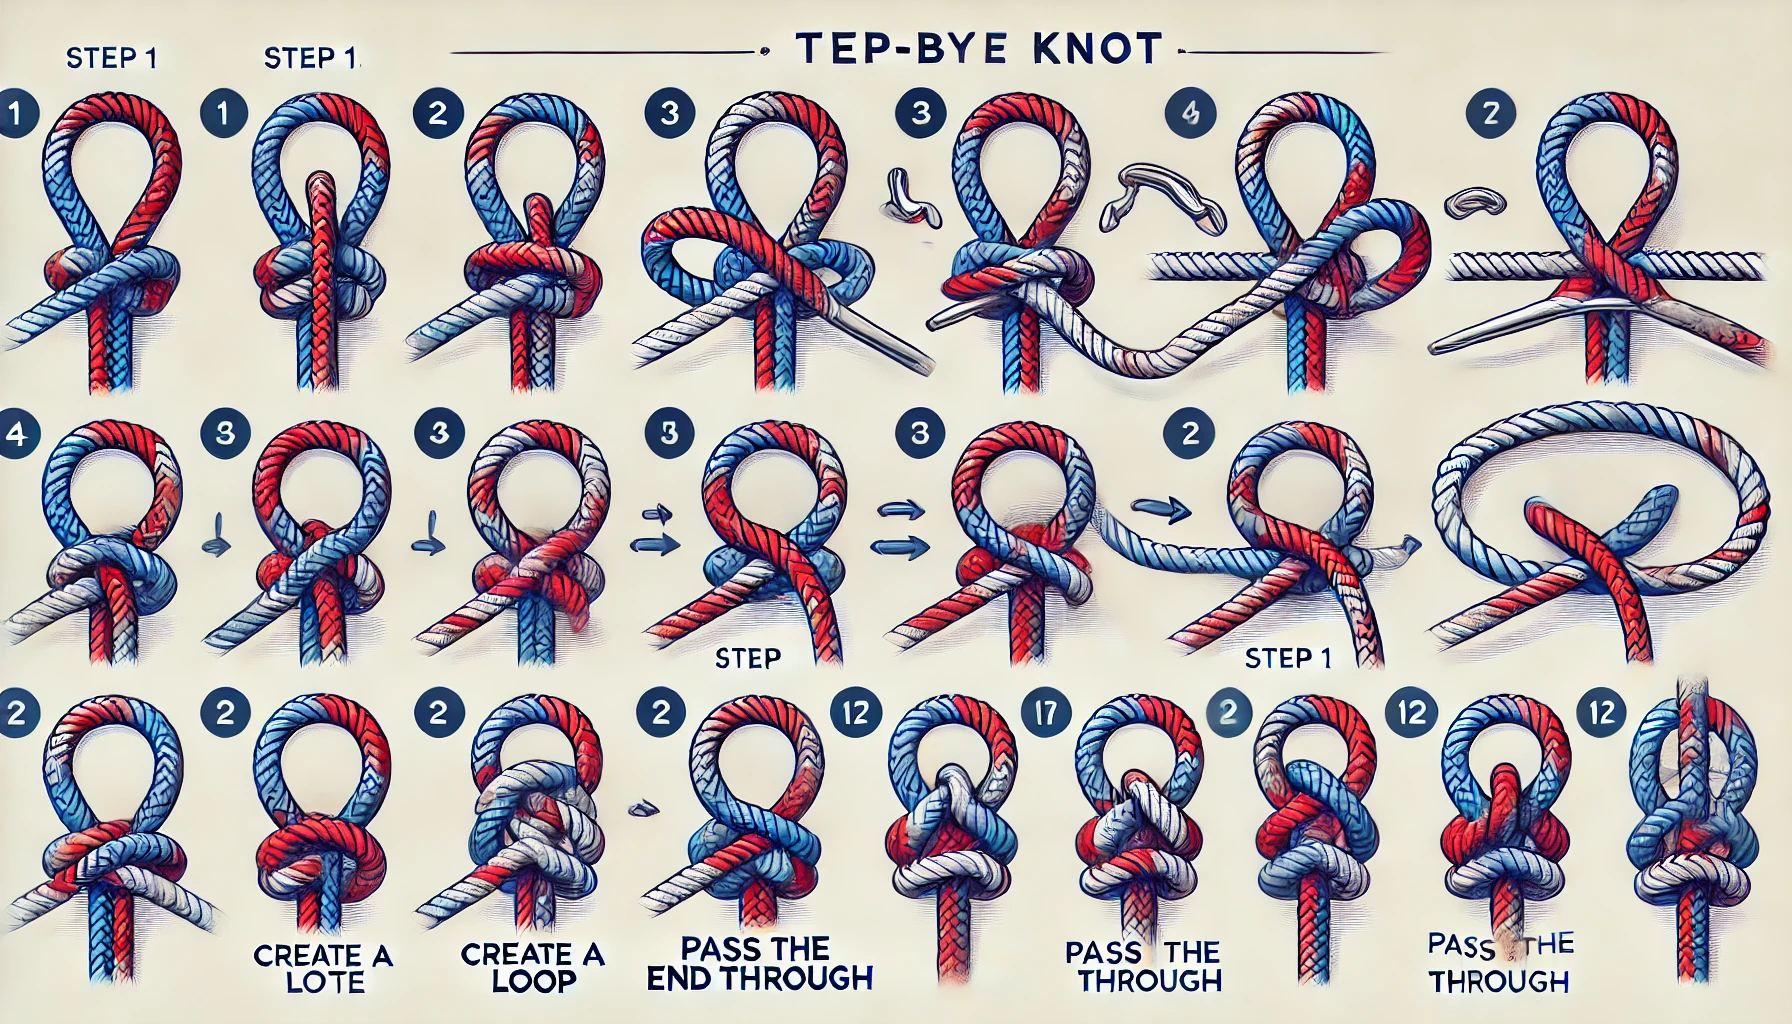
1. Start with a Loop
- Take the rope or cord and create a simple loop at one end. Make sure the loop is large enough to work with easily.
2. Pass the End Through
- Take the free end of the rope and pass it through the loop. Pull it through, but don’t tighten it just yet.
3. Wrap Around
- Wrap the free end around the loop. Keep the rope snug but not too tight as you go.
4. Tuck It Back
- Tuck the free end back through the original loop. This step secures the knot in place.
5. Tighten the Knot
- Pull the free end firmly to tighten the knot. Adjust as needed to ensure a strong grip.
Uses of the Crock Knot
The crock knot has a wide range of applications, making it a go-to knot for many:
- Camping: Secure tents, tarps, or hammocks.
- Boating: Tie down gear or secure ropes to docks.
- DIY Projects: Use it to fasten cords, cables, or bundles.
- Decorative Work: Create stylish patterns for crafts and macramé.
Tips for Tying the Crock Knot
- Use Quality Rope: Choose a rope or cord that is easy to handle and durable.
- Practice Makes Perfect: Try tying the knot multiple times to build confidence.
- Check the Tension: Ensure the knot is tight enough to hold securely but not so tight that it’s difficult to untie.
- Use It Wisely: While the crock knot is strong, it’s not suitable for life-critical tasks like climbing.
Common Mistakes to Avoid
- Overtightening: Pulling too hard while tying can damage the rope.
- Skipping Steps: Follow the process carefully to ensure the knot holds securely.
- Using the Wrong Rope: Thin or slippery ropes may not hold the knot well.
Conclusion
The crock knot is a valuable skill that can come in handy in many situations. Its simplicity, strength, and versatility make it an essential knot to learn. Whether you’re an outdoor enthusiast, a DIYer, or someone who loves practical skills, mastering the crock knot is a must.
FAQs
Q: Is the crock knot difficult to learn?
A: Not at all! It’s a simple knot that beginners can learn quickly with practice.
Q: Can I use the crock knot for climbing?
A: No, this knot is not suitable for climbing or other life-critical tasks.
Q: What type of rope works best for a crock knot?
A: Use ropes made from durable materials like nylon or polyester for the best results.
Q: How do I untie a crock knot?
A: Simply loosen the knot by pulling on the free end. Then, unwind the loops to release it.
Q: Are there similar knots to the crock knot?
A: Yes, knots like the bowline or square knot share some similarities but serve different purposes.
By now, you should feel confident in your ability to tie and use the crock knot. Practice regularly, and you’ll master it in no time! Happy knotting!